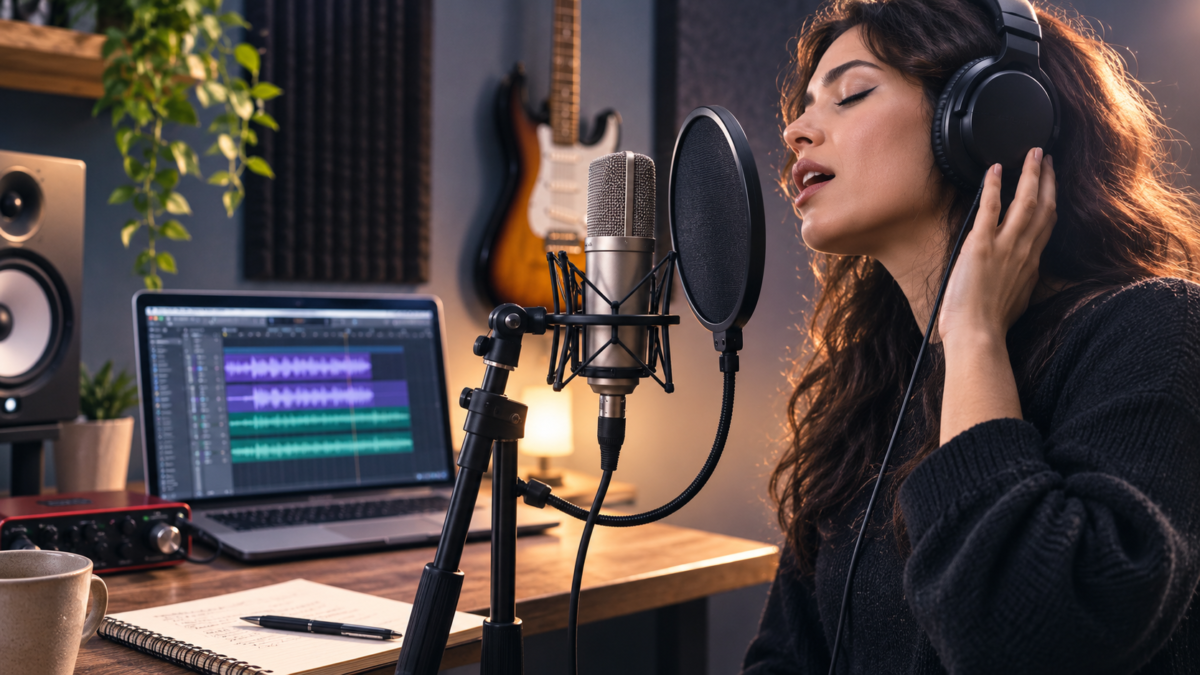
Recording a song at home used to feel like a dream reserved for pros with big budgets. Today, you can capture radio-ready tracks from your bedroom—if you know the right steps. This guide walks you through exactly how to properly record a song, from setting up your space to nailing your takes, editing, and prepping for mixdown. No fluff, no jargon—just clear, helpful advice that gets results.
What You’ll Need Before You Hit Record
You don’t need a million-dollar studio, but you do need a few essentials to get clean, usable audio.
- Microphone: A condenser mic is great for quiet, controlled rooms. A dynamic mic works better in untreated or noisy spaces.
- Audio interface: This connects your mic to your computer and provides clean preamps.
- DAW (Digital Audio Workstation): Software like Ableton, Logic, FL Studio, or Reaper where you record and edit.
- Headphones: Closed-back headphones help you hear the track without bleed into the mic.
- Pop filter: Reduces harsh “p” and “b” sounds (plosives).
- Mic stand and XLR cable: For stable placement and connection.
- Quiet, soft room: Choose a small room with curtains, rugs, or blankets to reduce echo.
Optional but helpful: acoustic panels or bass traps for corners, a reflection filter behind the mic, and a thick rug if you have hard floors.
Step 1: Set Up Your Recording Space
Your room is your first instrument. Even the best mic will sound thin or boxy in a bad space.
- Pick the quietest room: Close windows, turn off fans/AC, and record when your home is calm.
- Reduce reflections: Hang heavy blankets on walls behind and beside the mic. Add a rug if you have tile or hardwood.
- Avoid the center: Don’t record in the middle of an empty room. Stand closer to a wall or corner with soft materials.
- Point the mic away from hard surfaces: Aim the mic toward soft furnishings, not bare walls or windows.
If you’re on a tight budget, two mattresses in a corner with the mic in front and one behind you can work surprisingly well.
Step 2: Connect and Configure Your Gear
Get your signal path right so you record clean audio without noise or clipping.
- Mic → XLR cable → audio interface → computer: This is the standard chain.
- Set your DAW track: Create a new audio track, select the correct input (your interface’s mic channel), and arm the track for recording.
- Sample rate and bit depth: Record at 24-bit resolution for more dynamic range. 44.1 kHz or 48 kHz sample rate is standard.
- Monitor with headphones: Use closed-back headphones to avoid bleed into the mic.
Step 3: Mic Placement and Pop Filter Setup
Good placement saves hours of fixing problems later.
- Distance: Stand 6–8 inches (15–20 cm) from the mic capsule. For louder singers, go 8–10 inches.
- Height: Keep the mic at mouth level, slightly tilted upward.
- Angle: Point the mic slightly off-axis (15–30 degrees toward your nose or chin) to reduce sibilance and plosives.
- Pop filter: Mount it 2–4 inches in front of the mic, and keep your mouth 4–8 inches behind the filter.
- Mark your spot: Put tape on the floor for your feet and on the mic stand for height so you stay consistent across takes.
Step 4: Set Your Gain (Levels) the Right Way
Gain staging is the difference between a clean recording and a distorted mess.
- Ask the singer to perform the loudest part (usually the chorus) at full intensity.
- Watch your DAW input meter: Aim for peaks between -18 and -12 dBFS. Some guides say -12 to -6 dBFS is fine, but never hit 0 dBFS (clipping).
- Adjust the interface gain knob: If peaks go above -12 dBFS, lower the gain. If they’re below -24 dBFS, raise it.
- Leave headroom: Recording “hot” (too loud) leaves no room for plugins later. Louder is not better.
Step 5: Warm Up and Test
Don’t jump straight into the final take.
- Vocal warm-up: 5–10 minutes of scales, humming, or lip trills.
- Hydrate: Drink room-temperature water (not ice cold).
- Test recording: Record 30 seconds to check levels, tone, and room noise.
- Record silence: Capture 3–5 seconds of room tone before your first take. This helps with noise reduction later.
Step 6: Record Multiple Takes
One take is rarely the best take.
- Record at least 3 full takes of each section (verse, chorus, bridge). More is better if you have time.
- Stay consistent: Keep the same distance, posture, and mic position for every take.
- Use a click track or instrumental: Make sure the tempo and key match your arrangement.
- Punch in if needed: If you mess up a line, re-record just that part instead of the whole song.
Step 7: Comping (Choosing the Best Parts)
Comping means combining the best phrases from multiple takes into one master vocal track.
- Listen to all takes: Mark the best lines, words, or even syllables.
- Create a new track: Copy the best sections onto one clean vocal track.
- Smooth transitions: Add tiny crossfades (10–30 ms) between comped sections to avoid clicks.
- Keep it natural: Don’t over-edit. The goal is a cohesive performance, not a robotic one.
Step 8: Basic Editing and Cleanup
Before mixing, tidy up your audio.
- Trim silence: Cut long gaps before and after phrases, but leave a little breath for realism.
- Remove clicks and pops: Use your DAW’s fade tools or a dedicated de-click plugin.
- Tune only where needed: Apply light pitch correction (like Auto-Tune or Melodyne) only on off notes.
- De-noise if necessary: Use a noise reduction plugin on the room tone you recorded earlier to create a profile, then apply lightly to the vocal.
Step 9: Pre-Mix Prep (Optional but Smart)
You don’t need to mix yet, but a little prep makes the next stage easier.
- Organize tracks: Label your vocal, instrumental, and FX tracks clearly.
- Group similar tracks: Group all background vocals or all drums for easier processing later.
- Save versions: Keep a “raw” version of your song before adding any effects, so you can always go back.
- Check phase: If you used multiple mics, make sure they’re not canceling each other out.
Step 10: Export for Mixing or Mastering
When your recording and editing are done, export a clean version for the next stage.
- Export as WAV: Use 24-bit WAV for the highest quality. Avoid MP3 for mixing.
- Leave headroom: Make sure your final export peaks around -6 dBFS to give the mixing engineer room to work.
- Include all tracks: If you’re sending to a pro, export each track (stems) as well as the full mix.
Common Mistakes to Avoid
Even small errors can ruin an otherwise great recording. Watch out for these:
- Recording in a noisy or echoey room: Kitchens, bathrooms, and empty living rooms sound terrible.
- Mic too close or too far: Too close = boomy and plosive-heavy. Too far = thin and roomy. Stick to 6–10 inches.
- Clipping the input: If your meter hits 0 dBFS, the audio is distorted and unusable.
- Using compression or heavy effects while recording: Record dry (no effects) so you have flexibility later.
- Only one take: You limit your options for comping and fixing mistakes.
- Ignoring gain staging: Recording too hot or too quiet makes mixing harder and can introduce noise.
Quick Checklist Before You Record
Run through this list every session to save time and stress:
- Room is quiet and soft (blankets, rugs, curtains in place)
- Mic is 6–8 inches from mouth, slightly off-axis
- Pop filter is 2–4 inches in front of the mic
- Gain is set so peaks hit -18 to -12 dB
- Headphones are on, track is armed, and input is selected
- 3–5 seconds of silence recorded for noise profile
- At least 3 full takes recorded for each section
- Best parts comped onto one vocal track
- Clicks, pops, and obvious pitch issues fixed
- Exported as 24-bit WAV with headroom
Keep It Simple and Consistent
Recording a song properly isn’t about fancy gear—it’s about good habits. Choose a quiet room, place your mic right, set your gain conservatively, and record multiple takes. Edit lightly, comp thoughtfully, and export cleanly. Do these steps consistently, and your home recordings will sound polished, professional, and ready for the next stage.
Now you’ve got the blueprint. Set up your space, hit record, and let your song shine.