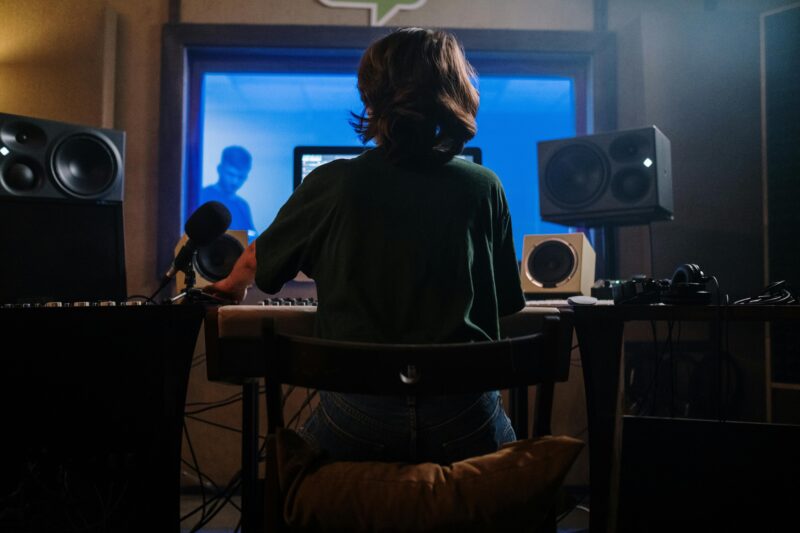
Recording music at home like a studio is an exciting venture that many aspiring musicians and producers are eager to embark on. With the right tools, knowledge, and a bit of creativity, you can create high-quality recordings from the comfort of your own space. This guide will walk you through the essential steps to set up your home recording studio, ensuring you have everything you need to make professional-sounding music.
Getting Started: The Essentials
To record music at home like a studio, you’ll need some essential equipment and a suitable environment. Here’s a breakdown of what you’ll need:
1. A Computer
Your computer is the heart of your recording studio. It doesn’t have to be the latest model, but it should have a decent processor and at least 8GB of RAM. This will ensure that your computer can handle multiple tracks and effects without slowing down. If you’re serious about recording, consider investing in an external hard drive for additional storage of your music files1.
2. Digital Audio Workstation (DAW)
A DAW is software that allows you to record, edit, and produce audio files. Popular options include Ableton Live, Logic Pro, and FL Studio. Each DAW has its own unique features, so choose one that fits your workflow and style. Many DAWs offer free trials, so take advantage of those to find the best fit for you3.
3. Audio Interface
An audio interface converts analog signals (like those from microphones) into digital signals that your computer can understand. Look for an interface with good preamps and low latency for the best performance. Some popular models include Focusrite Scarlett and PreSonus AudioBox.
4. Microphones
Investing in a quality microphone is crucial for capturing vocals and instruments clearly. A condenser microphone is often recommended for vocals due to its sensitivity and wide frequency response. For instruments, consider dynamic microphones or specialized mics depending on what you’re recording.
5. Studio Monitors and Headphones
Good sound monitoring is essential when mixing your tracks. Studio monitors provide accurate sound reproduction, allowing you to hear your music as it truly sounds. Additionally, a pair of closed-back headphones can help with detailed listening during recording sessions without disturbing others.
Setting Up Your Space
Once you have your equipment ready, it’s time to set up your recording space effectively.
1. Choose the Right Room
Select a quiet room in your home where you can minimize background noise. Ideally, this space should have some soft furnishings to help absorb sound reflections, which can improve the acoustics of your recordings.
2. Soundproofing
Consider soundproofing your room if possible. This can involve adding heavy curtains, carpets, or acoustic panels to reduce echo and outside noise interference during recording sessions.
3. Organize Your Workspace
Keep your workspace tidy and organized to enhance productivity. Arrange your equipment so that everything is within easy reach while recording or mixing. A comfortable chair and desk setup will also help you stay focused during long sessions.
Recording Techniques
Now that your studio is set up, let’s explore some techniques to help you record music at home like a pro.
1. Mic Placement
Proper microphone placement can dramatically affect the quality of your recordings. Experiment with different distances and angles until you find the sweet spot for each instrument or vocal performance. Remember that proximity can enhance warmth but may also pick up unwanted noise.
2. Use a Pop Filter
When recording vocals, using a pop filter can help reduce plosive sounds caused by hard consonants like “p” and “b.” This simple tool can make a significant difference in the clarity of your recordings.
3. Record Multiple Takes
Don’t hesitate to record multiple takes of each part of your song. This gives you more options when it comes time to edit and mix your track later on. You might find that one take has just the right emotion or energy that stands out.
Mixing Your Tracks
Once you’ve recorded your music, it’s time to mix it down into a polished final product.
1. Balance Levels
Start by balancing the levels of each track in your DAW so that no single element overwhelms the others. Use faders to adjust volume levels until everything sits well together in the mix.
2. EQ and Compression
Applying equalization (EQ) helps enhance or reduce certain frequencies in each track, allowing them to fit better together in the mix. Compression controls the dynamic range of audio signals, making quiet sounds louder and loud sounds quieter for a more consistent level throughout.
3. Add Effects Sparingly
Effects such as reverb or delay can add depth to your recordings but use them sparingly to avoid muddying the mix. Always aim for clarity first; effects should enhance rather than distract from the core sound.
Final Touches
After mixing comes mastering—the final polish on your track before sharing it with the world.
1. Listen on Different Systems
Before finalizing your master, listen to it on various playback systems—headphones, car speakers, laptop speakers—to ensure it sounds good everywhere. This will help you catch any issues that may not be apparent on your studio monitors.
2. Get Feedback
Don’t hesitate to share early mixes with friends or fellow musicians for feedback before releasing them publicly. Fresh ears can provide valuable insights you might have overlooked.
3. Export Your Track
Once you’re satisfied with the mix and master, export it in high-quality formats suitable for distribution (like WAV or FLAC). If you’re sharing online, consider also exporting an MP3 version for easier streaming.
Need to learn more about recording music? Check this awesome video right here:
Recording music at home like a studio is entirely achievable with some dedication and creativity! By gathering essential equipment, setting up an efficient workspace, applying effective recording techniques, and mastering your tracks properly, you’ll be well on your way to producing professional-sounding music right from home. So grab your gear, unleash your creativity, and start making music that resonates with you! Remember: every great artist started somewhere—your bedroom could be the next big thing!