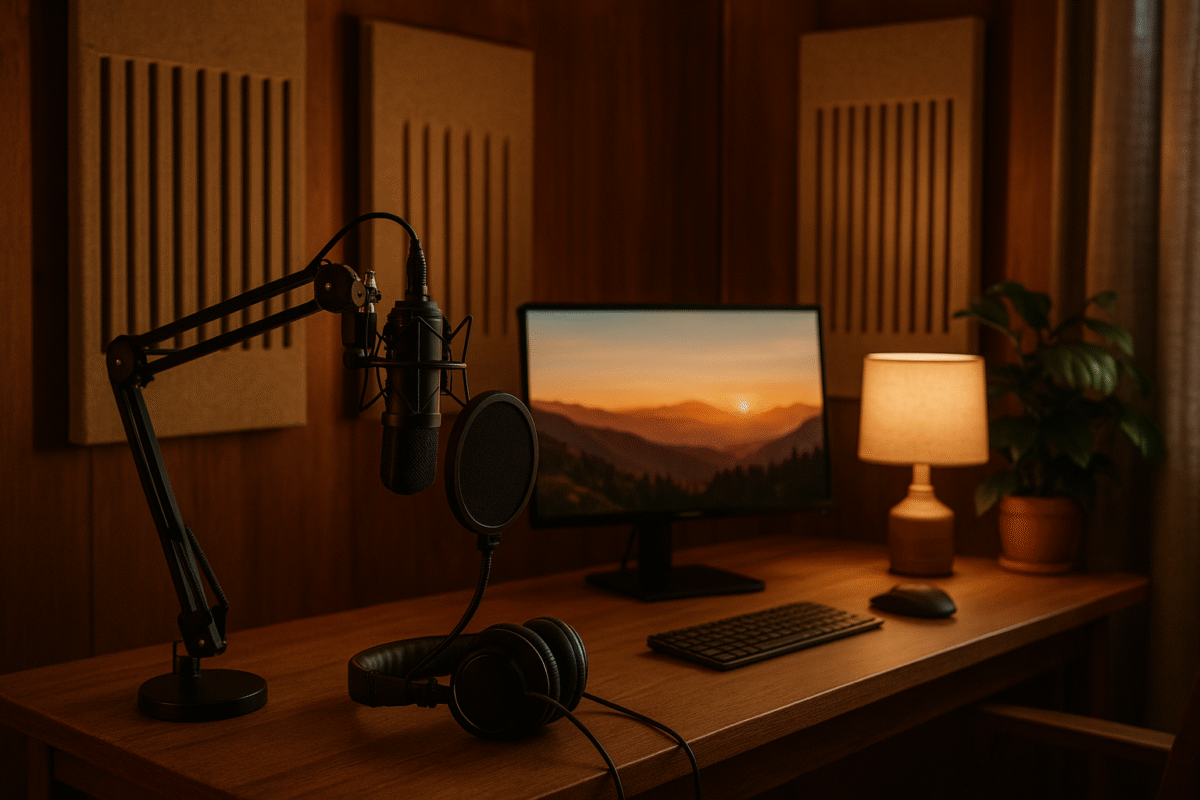
Recording professional audio at home is easier than ever. You no longer need a fancy studio or expensive gear to get crisp, clear sound. With the right setup, some basic knowledge, and a few smart tricks, you can produce audio that sounds like it was made in a pro studio—right from your bedroom, living room, or office.
Let’s break down everything you need to know to record professional audio at home, step by step.
Why Sound Quality Matters
Before you start, let’s talk about why professional audio is important. Whether you’re making a podcast, recording music, or creating YouTube videos, great sound instantly boosts your credibility. Listeners are more likely to stick around if your audio is clear, balanced, and free from distracting noise.
1. Set Up Your Recording Space
Your recording environment is just as important as your equipment. Even the best microphone can’t fix a noisy, echo-filled room. Here’s how you can create a space that works for you:
- Choose a quiet room away from busy streets, loud appliances, and household traffic.
- Soft surfaces absorb sound, so add rugs, curtains, and cushions to reduce echo.
- Avoid rooms with lots of bare walls or windows, as these reflect sound and create unwanted reverb.
- If you can, record in a walk-in closet or a small room filled with clothes. Clothes act as natural sound absorbers.
- Consider using foam panels or portable isolation booths if you want to take things up a notch.
You don’t need to spend a fortune. Simple adjustments like closing doors and windows, turning off fans, and silencing your phone can make a big difference.
2. Pick the Right Equipment
You don’t need the most expensive gear, but you do need the right tools for the job. Here’s a checklist of what you’ll need:
Microphones
- USB Microphones: Plug directly into your computer. Great for beginners and easy to use.
- XLR Microphones: Offer better sound quality and flexibility but require an audio interface.
For voice work, a condenser microphone is usually best. For instruments or live performances, dynamic microphones are more robust.
Audio Interface
If you’re using an XLR mic, you’ll need an audio interface. This device connects your microphone to your computer and converts analog sound into digital signals. Look for interfaces with clean preamps and low noise.
Headphones
Closed-back headphones let you hear your recording clearly without sound leaking into the mic. Avoid using speakers while recording to prevent feedback.
Pop Filter
A pop filter sits between you and the microphone. It blocks out harsh “p” and “b” sounds, making your voice sound smoother.
Mic Stand or Boom Arm
Holding a microphone in your hand introduces noise. Use a stand or boom arm to keep your mic stable and at the right height.
Optional Extras
- Acoustic panels or foam to further treat your room.
- Reflection filters to block unwanted room noise.
- Shock mounts to reduce vibrations from your desk or stand.
3. Learn Basic Recording Techniques
With your space and equipment ready, it’s time to record. Here’s how to get the best sound:
Microphone Placement
- Keep the mic 6–12 inches from your mouth for a balanced sound.
- Angle the mic slightly off-center to reduce harsh consonants.
- Use the pop filter to maintain a consistent distance.
Set Your Levels
- Speak or play at your normal volume and watch the input meter in your recording software.
- Aim for levels that peak around -6 dB. This gives you enough headroom to avoid distortion.
- If your levels are too high, lower the gain on your audio interface or microphone.
Monitor Your Sound
- Wear headphones while recording to catch problems early.
- Listen for background noise, hums, or pops and adjust your setup as needed.
Minimize Noise
- Turn off noisy electronics and appliances.
- Ask others in your home to keep quiet during your session.
- Record at times when your environment is naturally quieter.
4. Choose the Right Recording Software
There are plenty of free and paid options for recording and editing audio. Here are some popular choices:
- Audacity: Free, open-source, and user-friendly.
- GarageBand: Great for Mac users and beginners.
- Adobe Audition: Professional-grade with advanced features.
- Reaper: Affordable and highly customizable.
Pick software that feels comfortable and meets your needs. You can always upgrade later as your skills grow.
5. Edit and Polish Your Audio
Recording is just the first step. Editing helps you create a polished, professional sound.
Basic Editing Steps
- Cut out mistakes, long pauses, and background noises.
- Use noise reduction tools to remove hums or static.
- Apply EQ (equalization) to balance your voice or instrument.
- Add compression to even out volume levels.
- Normalize your audio so it’s loud enough but not distorted.
Most software comes with built-in tools for these tasks. There are also plenty of tutorials online to help you master editing basics.
6. Export and Share Your Audio
Once you’re happy with your recording, export it in a high-quality format. WAV files are best for archiving, while MP3s are great for sharing online.
- Choose a sample rate of 44.1 kHz and a bit depth of 16 or 24 bits for most projects.
- Double-check your file for any glitches or mistakes before sharing.
7. Tips for Consistently Great Recordings
- Record several takes and pick the best one.
- Keep your gear clean and well-maintained.
- Save your work often and back up your files.
- Practice speaking or playing naturally to sound relaxed and confident.
- Keep learning—experiment with new techniques and tools as you go.
8. Troubleshooting Common Problems
Even the pros run into issues. Here’s how to fix some common problems:
- Background Noise: Add more soft surfaces, use noise reduction in editing, or record at quieter times.
- Echo or Reverb: Move closer to the mic, add more acoustic treatment, or use a reflection filter.
- Distortion: Lower your input gain or move further from the mic.
- Muffled Sound: Check your mic placement and make sure nothing is blocking the microphone.
9. Frequently Asked Questions
Do I need expensive equipment to record professional audio at home?
No, you can get great results with budget-friendly gear and a well-treated room.
Can I use my phone to record audio?
Yes, modern smartphones can record decent audio, especially with an external microphone.
How do I get rid of background noise?
Treat your room, use noise reduction tools, and record in quiet environments.
What’s the best microphone for beginners?
USB condenser microphones are easy to use and sound great for most home setups.
Recording Professional Audio at Home
Recording professional audio at home is all about preparation, practice, and a little bit of patience. Focus on your environment, choose the right gear, and learn the basics of recording and editing. With these tips, you’ll be well on your way to creating audio that sounds polished, professional, and ready to share with the world.
Remember, everyone starts somewhere. Don’t be afraid to experiment and have fun with the process. Your next great recording is just a session away!