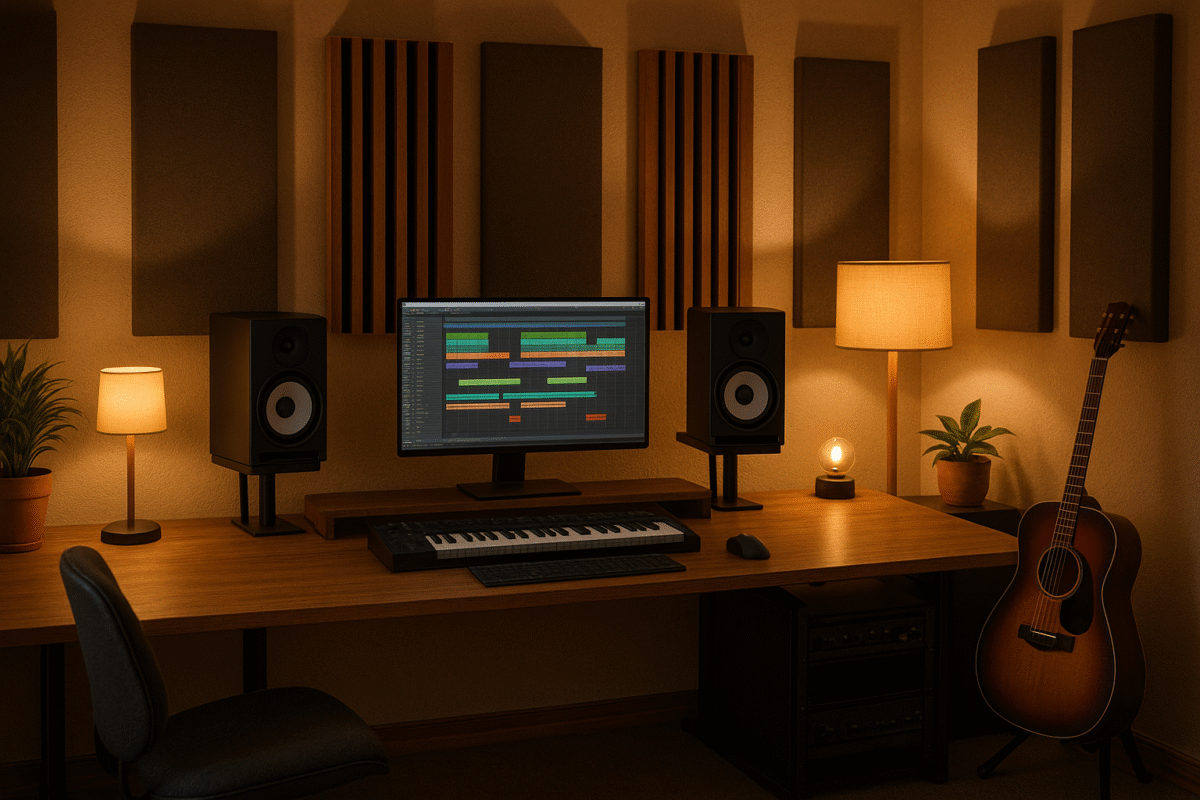
Creating a home studio that sounds professional is more achievable than ever, but it takes more than just buying gear. You need to focus on your room’s acoustics, the layout of your equipment, and the quality of your recording chain. Let’s break down the most effective ways you can transform your home studio into a space where your creativity shines and your mixes sound great everywhere.
Optimize Your Room’s Acoustics
Treat the Room First, Not Last
You might think your gear is the most important part of your studio, but the room itself has a huge impact on your sound. Even the best microphones and monitors can’t fix a room that’s full of echoes, boomy bass, or weird reflections. Start by treating your room with a mix of absorption and diffusion.
- Acoustic Panels: Place large acoustic panels on your walls to absorb mid and high frequencies. This reduces echoes and makes your mixes clearer and more accurate.
- Bass Traps: Bass frequencies build up in the corners of your room, making mixes sound muddy. Install thick bass traps in all corners to absorb these low frequencies and tighten up your sound.
- Diffusers: Once you’ve controlled the reflections and bass, add diffusers to the rear wall. Diffusers scatter sound waves, preventing harsh echoes and creating a more natural, lively sound in your studio.
- Rugs and Curtains: Hard floors reflect sound, so lay down a thick rug to reduce unwanted reflections. Use curtains over windows to control brightness or deaden the room as needed.
Smart Speaker and Listening Position
Where you put your monitors and where you sit can make or break your mixes.
- Monitor Placement: Place your studio monitors so they form an equilateral triangle with your head. Your ears should be at the same height as the tweeters. This setup puts you in the “sweet spot” for balanced stereo imaging.
- Room Symmetry: Keep your setup as symmetrical as possible. Uneven room shapes or furniture placement can cause reflections that skew your perception of the mix.
- Distance from Walls: Don’t place your monitors right up against the wall. Leave some space (at least a few inches) to avoid bass build-up and reflections that can color your sound.
Analyze and Adjust
Use free room analysis software like REW to identify problem frequencies and pressure zones in your room. This helps you place your acoustic treatment and monitors more effectively, and ensures you’re hearing an accurate representation of your music.
Build a Clean Recording Chain
Invest in Quality Where It Counts
A great-sounding studio starts with a clean signal path from your microphone to your computer.
- Microphone and Preamp: A decent microphone and preamp can make a huge difference. Even if you’re on a budget, choose a mic known for clarity and a preamp that adds minimal noise.
- Audio Interface: Your audio interface converts analog signals to digital. Look for one with clean preamps and reliable drivers. This ensures your recordings are clear and free from distortion.
- Cables and Power: Use quality cables to avoid unwanted noise. Power your gear from a clean source and avoid running audio cables parallel to power cables to minimize interference.
Monitor With Confidence
- Studio Monitors: Invest in accurate studio monitors rather than regular speakers. Monitors are designed for critical listening and will reveal problems in your mix you might miss otherwise.
- Headphones: Closed-back headphones are great for tracking vocals or instruments without bleed. Open-back headphones can be used for mixing, but always check your mixes on monitors as well.
Room Correction Tools
Some monitors come with built-in room correction, or you can use software solutions like Sonarworks or IK Multimedia’s ARC System. These tools analyze your room and adjust your monitor output to compensate for acoustic problems, helping your mixes translate better to other listening environments.
Control the Noise: Soundproofing and Isolation
Keep Unwanted Noise Out (and In)
Soundproofing is different from acoustic treatment. While treatment improves sound quality inside the room, soundproofing keeps outside noise from getting in and your music from leaking out.
- Doors and Windows: Use solid-core doors and seal any gaps with weatherstripping. Heavy curtains over windows help block outside noise.
- Walls and Ceilings: For serious soundproofing, consider adding mass-loaded vinyl behind drywall, or use sound isolation clips and double layers of drywall. Seal all gaps with acoustic caulk to prevent sound leaks.
- Floors: If you’re in an apartment or upstairs room, add thick carpets or rugs to reduce sound transmission through the floor.
Isolate Your Gear
Vibrations from stands or desks can travel into your microphones or monitors, coloring your sound.
- Monitor Isolation Pads: Place your monitors on foam pads or dedicated isolation stands to prevent vibrations from reaching your desk or stands.
- Shock Mounts: Use shock mounts for microphones to reduce vibrations from footsteps or bumps.
Fine-Tune Your Workflow and Layout
Ergonomics and Inspiration
A well-organized studio helps you work faster and stay inspired.
- Cable Management: Keep cables tidy and out of the way to avoid tripping hazards and accidental disconnections.
- Lighting: Use soft, adjustable lighting to create a comfortable atmosphere. Avoid harsh overhead lights that can cause eye strain.
- Furniture: Choose a comfortable chair and a desk that fits your gear. Keep your most-used equipment within easy reach.
Experiment and Listen
No two rooms are the same. Move your monitors, desk, or acoustic panels around and listen to the difference. Sometimes moving your listening position just a few inches can improve your sound dramatically.
Mix at Lower Volumes
Mixing at lower volumes helps prevent ear fatigue and lets you hear a more accurate balance of frequencies. If your mix sounds good at a low volume, it will usually sound great when played loud.
Upgrade Thoughtfully
Don’t Chase Gear—Chase Results
It’s tempting to buy new gear, but focus on improving your room and workflow first. Once you’ve treated your room and optimized your setup, then consider upgrading your microphone, interface, or monitors for even better results.
Keep Learning
The best producers are always learning. Watch tutorials, read articles, and experiment with new techniques. Your ears will improve over time, and so will your mixes.
Improving the sound of your home studio is a journey, not a single step. By treating your room, optimizing your setup, investing in a clean recording chain, and controlling noise, you’ll create a space where your music can truly shine. Every small improvement adds up, so keep tweaking, listening, and enjoying the process. Your future self—and your listeners—will thank you.