Is it better to record at home or studio?

When it comes to recording music, many aspiring artists find themselves torn between two primary options: recording at home or booking time in a professional studio. Each choice has its unique benefits and drawbacks, making the decision a bit tricky. So, let’s dive into the details of whether it’s better to record at home or studio, helping you make an informed choice that suits your musical journey.

Understanding Your Options

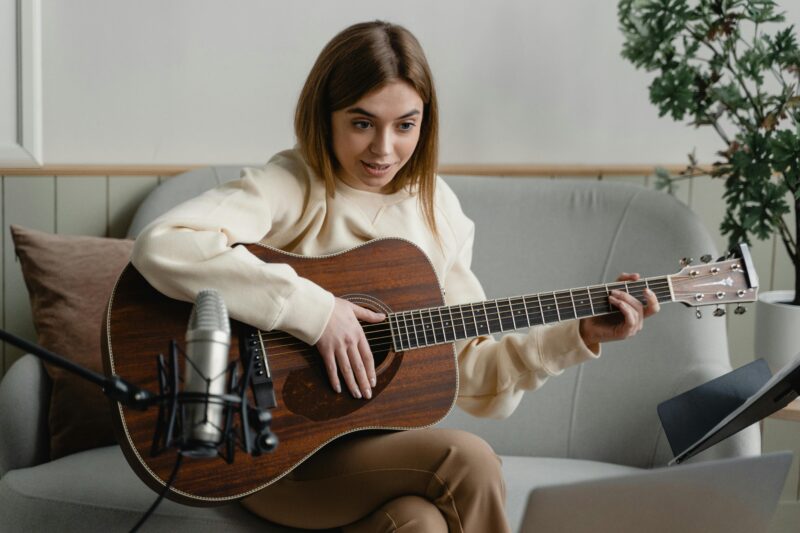
Recording at Home: The DIY Approach

Recording at home has become increasingly popular, especially with advancements in technology. You can create a comfortable space that reflects your personal style and creativity. Here are some key points to consider:

  • Affordability: Setting up a basic home studio can be much cheaper than renting studio time. You can start with a modest investment of around £500 to £1,000 for essential equipment like microphones, audio interfaces, and software. This one-time cost allows you to avoid ongoing rental fees and gives you more control over your budget.
  • Flexibility: One of the biggest advantages of recording at home is the freedom it provides. You can record whenever inspiration strikes without worrying about scheduling conflicts or hourly rates. This flexibility allows for more experimentation and creativity in your music-making process.
  • Comfort: Being in your own space can foster creativity. You can create an environment that feels comfortable and inspiring, which can lead to better performances and recordings. Plus, you can take breaks whenever you need without feeling rushed.
  • Learning Opportunities: Recording at home gives you the chance to learn about music production and audio engineering firsthand. You’ll gain valuable skills that can enhance your overall musicality and understanding of the recording process.

However, there are some downsides to consider:

  • Sound Quality: Home studios often suffer from poor acoustics unless you invest in soundproofing and acoustic treatment. This can lead to recordings that don’t sound as polished as those made in a professional environment.
  • Limited Equipment: While you can get decent gear for home recording, it often doesn’t match the quality found in professional studios. This limitation could affect the overall sound of your recordings, especially if you’re working with complex arrangements or live instruments.

Professional Studios: The Expert Touch

On the other hand, professional studios offer a different experience altogether. Here’s what you need to know:

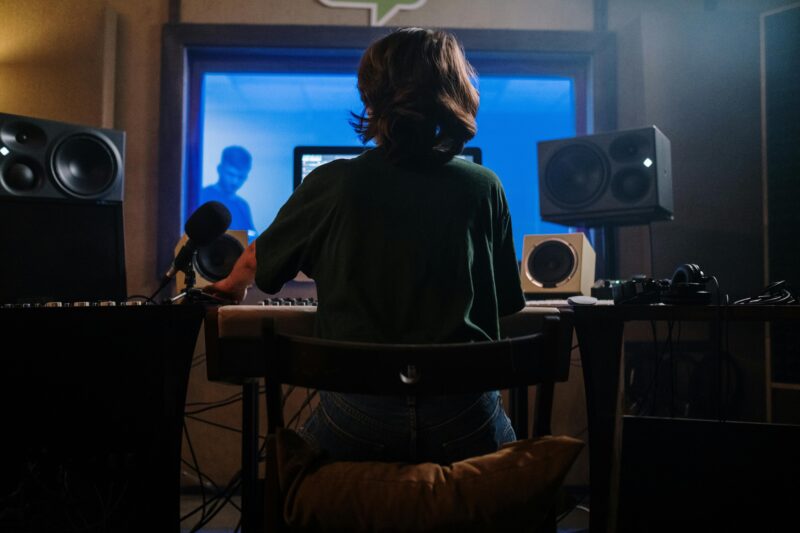
  • Superior Sound Quality: Professional studios are designed with acoustics in mind. They feature high-end equipment and soundproofing that ensure your recordings sound their best. This is particularly important if you’re working with live instruments or complex vocal arrangements.
  • Expert Guidance: When you book time in a studio, you often have access to experienced engineers who can help bring your vision to life. They understand the intricacies of recording and mixing, which can elevate your project significantly.
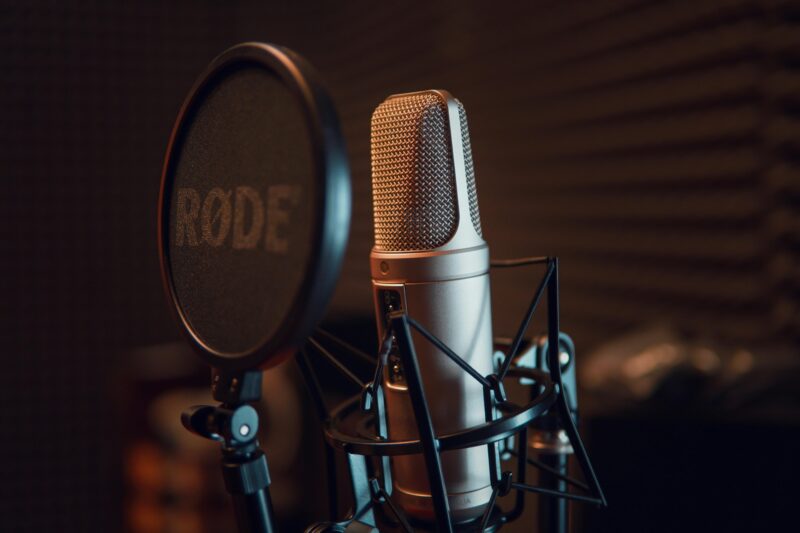
  • Top-Tier Equipment: Professional studios boast high-quality gear that would be prohibitively expensive for most home setups. From premium microphones to advanced mixing consoles, these tools can make a noticeable difference in your final product.

However, professional studios come with their own set of challenges:

  • Cost: Renting studio time can be expensive, typically ranging from £50 to £500 per hour depending on the facility and equipment used. This cost can add up quickly, especially if you’re working on a larger project.
  • Scheduling Constraints: Unlike home studios where you have 24/7 access, professional studios require you to book time in advance. This scheduling can limit your creative flow and may not align with your personal working style.

Making Your Decision

So, how do you decide whether it’s better to record at home or studio? Here are some factors to consider:

Your Budget

If you’re just starting out or working with limited funds, setting up a home studio might be the best option for you. It allows for experimentation without breaking the bank. However, if you’re aiming for high-quality recordings for commercial release and have the budget for it, investing in professional studio time could pay off in spades.

Your Goals

Consider what you’re trying to achieve with your music. If you’re creating demos or experimenting with new sounds, a home studio is ideal. But if you’re ready to produce a polished album or work with intricate arrangements, professional studios provide the necessary resources and expertise.

Your Experience Level

If you’re new to recording and production, starting at home allows you to learn at your own pace without pressure. However, if you’re more experienced and want to refine your skills further while producing high-quality music, working with professionals might be beneficial.

Your Style of Music

Different genres may benefit from different recording environments. For instance, electronic music often translates well in home setups due to its reliance on software instruments and digital production techniques. Conversely, acoustic bands might find that professional studios offer the best sound quality for their recordings.

Conclusion

Ultimately, whether you choose to record at home or in a studio depends on your individual needs and circumstances. Both options have their unique advantages and challenges that cater to different aspects of music creation. If you’re looking for flexibility and affordability while honing your skills, recording at home is a fantastic choice. On the other hand, if you’re aiming for top-notch sound quality and expert guidance for a polished final product, investing in professional studio time may be worth it. Remember that many artists use both methods throughout their careers—starting projects at home before finishing them in a studio setting. Whichever route you choose, focus on enjoying the creative process and making music that resonates with you!
What equipment is needed for a home music studio?

Setting up a home music studio can be an exciting journey, whether you’re a budding musician or an experienced producer. The right equipment for a home music studio can make all the difference in the quality of your recordings and the ease of your workflow. In this guide, we’ll explore all the essential gear you need to create a functional and inspiring space for music creation.

Why You Need a Home Music Studio

Creating your own music studio at home allows you to express your creativity without the constraints of time and budget that come with renting studio space. You can record whenever inspiration strikes, experiment with sounds, and develop your skills at your own pace. Plus, the satisfaction of producing music in your own space is truly rewarding!

Essential Equipment for Your Home Music Studio

When it comes to setting up your home studio, there are several key pieces of equipment you’ll need. Let’s break them down into manageable categories so you can understand what each piece does and why it’s important.

1. Computer

Your computer is the heart of your home music studio. It acts as the central hub where all your recordings are processed and edited. Here’s what to consider:

  • Specifications: Aim for at least 8GB of RAM and a fast processor. If you can, go for 16GB or more, especially if you plan on using demanding software.
  • Storage: A minimum of 1TB of storage is recommended to accommodate all your audio files and software.

Whether you choose a Mac or PC is up to personal preference, but ensure it meets the requirements of your chosen Digital Audio Workstation (DAW) software.

2. Digital Audio Workstation (DAW)

A DAW is software that allows you to record, edit, and produce audio files. Some popular options include:

  • Ableton Live: Great for electronic music production.
  • Logic Pro X: A favorite among Mac users.
  • FL Studio: Known for its user-friendly interface.

Choose one that fits your style and workflow preferences. Many DAWs offer free trials, so take advantage of those to find the best fit for you.

3. Audio Interface

An audio interface is crucial for converting analog signals (like those from microphones) into digital data that your computer can process. Here’s what to look for:

  • Inputs/Outputs: Make sure it has enough inputs for your needs—typically at least two for simultaneous recording.
  • Quality: Look for interfaces with high-quality preamps to ensure clear sound capture.

Popular choices include Focusrite Scarlett series or PreSonus AudioBox.

4. Microphones

Microphones are essential for capturing vocals and instruments. Here are some types to consider:

  • Dynamic Microphones: Great for live performances and untreated rooms; they handle high sound pressure levels well.
  • Condenser Microphones: Ideal for studio recordings as they capture a wider frequency range and detail.

For versatility, consider getting both types. A good starter mic is the Audio-Technica AT2020, which offers excellent quality at an affordable price.

5. MIDI Controller

A MIDI controller allows you to input notes into your DAW using keys or pads. This is especially useful if you’re creating electronic music or working with virtual instruments. Look for controllers that are easy to use and integrate seamlessly with your DAW.

6. Studio Monitors

While headphones are great for tracking, studio monitors provide a more accurate representation of how your mix will sound on various playback systems. Here’s what to keep in mind:

  • Size: Choose monitors that fit well in your space; smaller monitors work better in compact studios.
  • Quality: Look for flat frequency response to avoid coloration of sound.

Brands like KRK Rokit or Yamaha HS series are popular choices among home studio owners.

7. Headphones

Investing in a good pair of studio headphones is essential for monitoring during recording sessions and mixing. Look for closed-back headphones that provide isolation from outside noise while delivering accurate sound reproduction.

8. Cables and Stands

You’ll need various cables (like XLR cables) to connect microphones and instruments to your audio interface. Don’t forget microphone stands; these will help position your mics correctly during recording sessions. Additionally, consider getting a pop filter if you plan on recording vocals; it helps reduce plosive sounds caused by consonants like “p” and “b”.

9. Acoustic Treatment

To achieve professional-sounding recordings, consider treating your room acoustically. Simple solutions include:

  • Acoustic Panels: These absorb sound reflections and reduce echo.
  • Bass Traps: Help manage low-frequency sounds.

You don’t need a perfectly treated room, but some basic treatment will significantly improve your recordings.

Expanding Your Home Studio

Once you’ve set up the basics, you might want to expand your home music studio with additional equipment:

  • External Effects Processors: For adding reverb or compression during recording.
  • Additional Microphones: For capturing different instruments or vocalists.
  • Instruments: If you’re a musician, adding guitars, keyboards, or other instruments can enhance your creative possibilities.

Setting up a home music studio is an exciting venture that opens up endless creative possibilities. By investing in essential equipment like a computer, DAW, audio interface, microphones, MIDI controller, monitors, headphones, cables, stands, and acoustic treatment, you’ll create an environment where you can produce high-quality music from the comfort of your own home. Remember that starting simple is perfectly fine; you can always expand as you grow in skill and confidence! So gather this equipment for your home music studio today and let the music flow!

How can I record music at home like a studio?

Recording music at home like a studio is an exciting venture that many aspiring musicians and producers are eager to embark on. With the right tools, knowledge, and a bit of creativity, you can create high-quality recordings from the comfort of your own space. This guide will walk you through the essential steps to set up your home recording studio, ensuring you have everything you need to make professional-sounding music.

Getting Started: The Essentials

To record music at home like a studio, you’ll need some essential equipment and a suitable environment. Here’s a breakdown of what you’ll need:

1. A Computer

Your computer is the heart of your recording studio. It doesn’t have to be the latest model, but it should have a decent processor and at least 8GB of RAM. This will ensure that your computer can handle multiple tracks and effects without slowing down. If you’re serious about recording, consider investing in an external hard drive for additional storage of your music files1.

2. Digital Audio Workstation (DAW)

A DAW is software that allows you to record, edit, and produce audio files. Popular options include Ableton Live, Logic Pro, and FL Studio. Each DAW has its own unique features, so choose one that fits your workflow and style. Many DAWs offer free trials, so take advantage of those to find the best fit for you3.

3. Audio Interface

An audio interface converts analog signals (like those from microphones) into digital signals that your computer can understand. Look for an interface with good preamps and low latency for the best performance. Some popular models include Focusrite Scarlett and PreSonus AudioBox.

4. Microphones

Investing in a quality microphone is crucial for capturing vocals and instruments clearly. A condenser microphone is often recommended for vocals due to its sensitivity and wide frequency response. For instruments, consider dynamic microphones or specialized mics depending on what you’re recording.

5. Studio Monitors and Headphones

Good sound monitoring is essential when mixing your tracks. Studio monitors provide accurate sound reproduction, allowing you to hear your music as it truly sounds. Additionally, a pair of closed-back headphones can help with detailed listening during recording sessions without disturbing others.

Setting Up Your Space

Once you have your equipment ready, it’s time to set up your recording space effectively.

1. Choose the Right Room

Select a quiet room in your home where you can minimize background noise. Ideally, this space should have some soft furnishings to help absorb sound reflections, which can improve the acoustics of your recordings.

2. Soundproofing

Consider soundproofing your room if possible. This can involve adding heavy curtains, carpets, or acoustic panels to reduce echo and outside noise interference during recording sessions.

3. Organize Your Workspace

Keep your workspace tidy and organized to enhance productivity. Arrange your equipment so that everything is within easy reach while recording or mixing. A comfortable chair and desk setup will also help you stay focused during long sessions.

Recording Techniques

Now that your studio is set up, let’s explore some techniques to help you record music at home like a pro.

1. Mic Placement

Proper microphone placement can dramatically affect the quality of your recordings. Experiment with different distances and angles until you find the sweet spot for each instrument or vocal performance. Remember that proximity can enhance warmth but may also pick up unwanted noise.

2. Use a Pop Filter

When recording vocals, using a pop filter can help reduce plosive sounds caused by hard consonants like “p” and “b.” This simple tool can make a significant difference in the clarity of your recordings.

3. Record Multiple Takes

Don’t hesitate to record multiple takes of each part of your song. This gives you more options when it comes time to edit and mix your track later on. You might find that one take has just the right emotion or energy that stands out.

Mixing Your Tracks

Once you’ve recorded your music, it’s time to mix it down into a polished final product.

1. Balance Levels

Start by balancing the levels of each track in your DAW so that no single element overwhelms the others. Use faders to adjust volume levels until everything sits well together in the mix.

2. EQ and Compression

Applying equalization (EQ) helps enhance or reduce certain frequencies in each track, allowing them to fit better together in the mix. Compression controls the dynamic range of audio signals, making quiet sounds louder and loud sounds quieter for a more consistent level throughout.

3. Add Effects Sparingly

Effects such as reverb or delay can add depth to your recordings but use them sparingly to avoid muddying the mix. Always aim for clarity first; effects should enhance rather than distract from the core sound.

Final Touches

After mixing comes mastering—the final polish on your track before sharing it with the world.

1. Listen on Different Systems

Before finalizing your master, listen to it on various playback systems—headphones, car speakers, laptop speakers—to ensure it sounds good everywhere. This will help you catch any issues that may not be apparent on your studio monitors.

2. Get Feedback

Don’t hesitate to share early mixes with friends or fellow musicians for feedback before releasing them publicly. Fresh ears can provide valuable insights you might have overlooked.

3. Export Your Track

Once you’re satisfied with the mix and master, export it in high-quality formats suitable for distribution (like WAV or FLAC). If you’re sharing online, consider also exporting an MP3 version for easier streaming.

Need to learn more about recording music? Check this awesome video right here:

Recording music at home like a studio is entirely achievable with some dedication and creativity! By gathering essential equipment, setting up an efficient workspace, applying effective recording techniques, and mastering your tracks properly, you’ll be well on your way to producing professional-sounding music right from home. So grab your gear, unleash your creativity, and start making music that resonates with you! Remember: every great artist started somewhere—your bedroom could be the next big thing!
How do I get the best sound quality when recording?

Getting the best sound quality when recording is essential for anyone looking to produce high-quality audio, whether it’s for podcasts, music, or videos. You want your recordings to sound crisp, clear, and professional. This guide will walk you through the steps to achieve that perfect sound quality. So, grab your microphone and let’s dive into the world of audio recording!

Understanding Sound Quality

Before we jump into the practical tips, let’s talk about what sound quality really means. Sound quality refers to how well audio is captured and reproduced. It encompasses clarity, richness, and the absence of unwanted noise. When you aim for the best sound quality when recording, you’re essentially trying to ensure that every note, word, and nuance is captured as authentically as possible.

The Importance of Environment

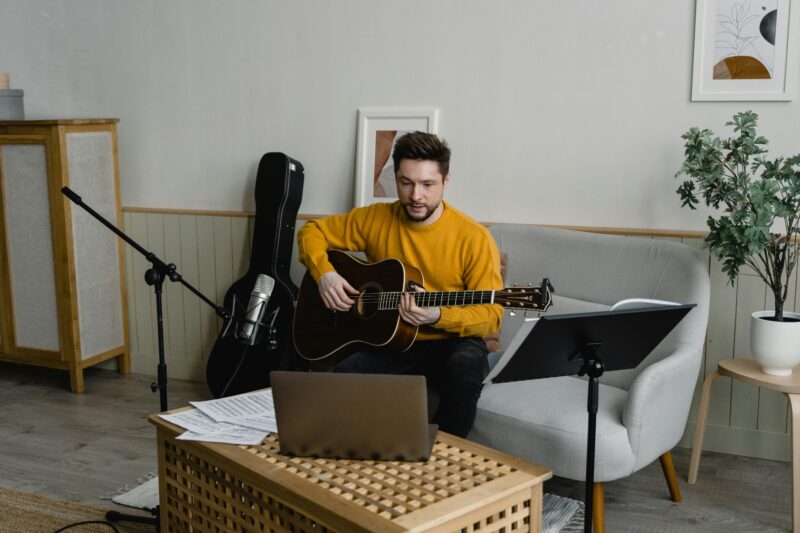
One of the first steps in achieving great sound quality is to consider your recording environment. The space where you record can significantly impact the audio quality.

  • Choose a Quiet Space: Look for a location free from background noise. Close windows, turn off noisy appliances, and avoid busy areas if possible.
  • Soundproofing: If you can, invest in some soundproofing materials like foam panels or heavy curtains. These can help absorb echoes and prevent outside noise from seeping in.
  • Room Acoustics: Rooms with soft furnishings tend to absorb sound better than bare walls. Carpets and curtains can help reduce reverb and create a more controlled acoustic environment.

Selecting the Right Equipment

Now that your environment is set up, let’s move on to equipment. The right tools can make a world of difference in your recordings.

  • Microphone Matters: Your microphone is crucial for capturing audio accurately. Invest in a high-quality microphone that suits your needs. For detailed recordings, condenser mics are excellent as they capture a wider frequency range.
  • Headphones: Use closed-back headphones while recording to minimize sound leakage and prevent mic bleed. This ensures that what you hear is what you record.
  • Audio Interface: An audio interface converts your microphone’s analog signal into digital data for your computer. Choose one with good preamps for clearer recordings.

Recording Software Setup

Once your equipment is ready, it’s time to set up your recording software. This is where the magic happens!

  • Choose Your Software: There are many options available like Adobe Audition, Pro Tools, or free ones like Audacity. Pick one that fits your skill level and budget.
  • Optimize Settings: Make sure to configure your software settings correctly. Match the sample rate and bit depth of your audio interface for optimal performance. A common setting is 24-bit/48kHz for high-quality recordings.
  • Recording Formats: Record in uncompressed formats like WAV or FLAC instead of MP3. These formats retain more audio detail and provide better overall sound quality.

Techniques for Better Sound Quality

With your environment set and equipment ready, let’s explore some techniques to enhance your sound quality further.

Microphone Placement

The placement of your microphone can drastically affect how well it captures sound.

  • Proximity Effect: Getting closer to the microphone can enhance the richness of your voice or instrument but be careful not to get too close as this can cause distortion.
  • Angle Matters: Experiment with angles; sometimes tilting the mic slightly away from the source can help reduce plosives (the popping sounds from letters like “p” and “b”) while still capturing clear audio.

Monitoring Levels

Keeping an eye on your audio levels during recording is vital.

  • Watch for Peaking: Ensure that your levels do not exceed -6dB to -3dB on your software meter to avoid distortion.
  • Use Headphones: Always monitor your recording through headphones to catch any issues in real-time—this way, you can adjust as needed before it’s too late.

Recording Techniques

Here are some additional tips to keep in mind while recording:

  • Record Filler Audio: Capture some ambient noise before starting your main recording session. This filler audio can be useful for smoothing out edits later on if you need to replace any sections.
  • Test Runs: Always do a test run before recording important material. Speak into the microphone and listen back carefully; this helps identify any issues with placement or background noise.

Post-Production Tips

After you’ve recorded your audio, post-production plays a crucial role in achieving that polished final product.

Editing Your Audio

Editing allows you to refine your recordings further.

  • Noise Reduction: Use noise reduction tools in your software to eliminate any unwanted background sounds that may have crept in during recording.
  • Equalization (EQ): Adjusting EQ settings can help enhance certain frequencies while cutting others that may muddy the sound. For example, boosting mid-range frequencies often helps vocals stand out more clearly.

Exporting Your Final Product

When you’re ready to export:

  • Choose High-Fidelity Formats: Exporting in WAV or FLAC ensures that you maintain high sound quality throughout distribution. If file size is a concern later on, you can always convert these files into compressed formats like MP3 after editing.

You can learn more on how to better record an audio on this video.

Achieving the best sound quality when recording involves careful consideration of various factors including environment, equipment selection, technique, and post-production editing. By following these tips—creating a quiet space, using high-quality microphones, optimizing software settings, monitoring levels closely, and refining during editing—you’ll be well on your way to producing professional-sounding audio. Remember, practice makes perfect! Don’t hesitate to experiment with different setups until you find what works best for you. Happy recording!